
From Flour to Loaf: Mastering the Timeless Craft of Bread Making
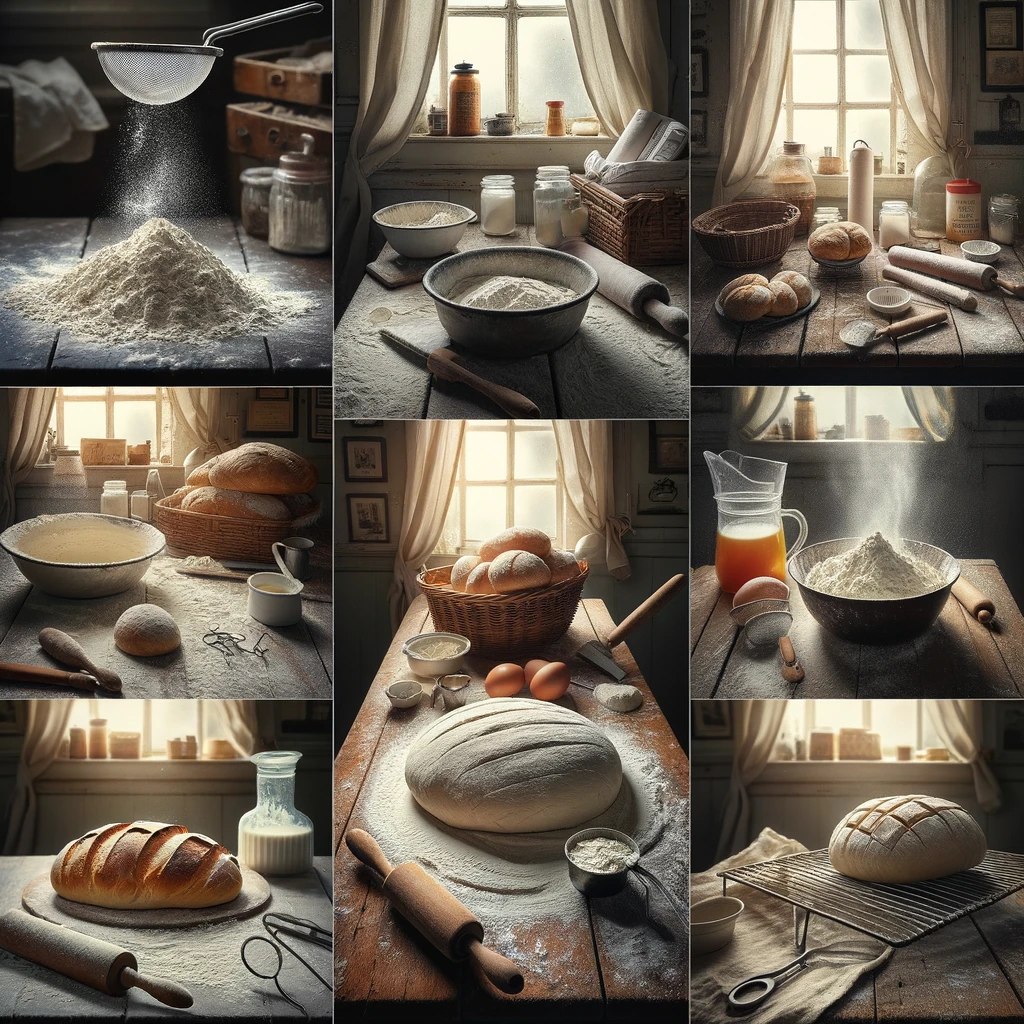
Bread making is both a simple and deeply satisfying process, rooted in ancient traditions yet endlessly adaptable to modern tastes and techniques. Here’s a basic overview of the steps involved in making bread, which can be applied to many types of yeast-leavened bread.
1. Gathering Ingredients
The basic ingredients for making bread include flour, water, yeast, and salt. Depending on the recipe, you may also use sugar, fats (like oil or butter), eggs, and milk to enrich the dough and influence the bread’s texture and flavor.
2. Mixing the Dough
Combine the ingredients in a large mixing bowl. Mixing can be done by hand or with a stand mixer fitted with a dough hook. The goal is to incorporate the ingredients into a rough, shaggy dough.
3. Kneading the Dough
Kneading develops the gluten in the flour, giving the bread its structure and elasticity. Knead the dough on a lightly floured surface until it becomes smooth and elastic. This can take about 10 to 15 minutes by hand. If using a mixer, the process may take about 5 to 8 minutes.
4. First Rise (Bulk Fermentation)
Place the kneaded dough in a greased bowl, covering it with a damp cloth or plastic wrap. Let it rise in a warm, draft-free place until it doubles in size. This process allows the yeast to ferment, producing gases that make the dough rise. The time required can vary, typically ranging from 1 to 2 hours, depending on the recipe and room temperature.
5. Punching Down and Shaping
Once the dough has doubled, punch it down gently to release some of the gas. Then, turn it out onto a lightly floured surface and shape it according to the type of bread you’re making. This could involve forming a loaf, braiding, or preparing it for a specific pan.
6. Second Rise (Proofing)
After shaping, let the dough rise again until it’s puffy and has nearly doubled in size. This second rise helps to develop a lighter, airier texture. The proofing time will be shorter than the first rise, often around 30 minutes to 1 hour.
7. Preheating the Oven
Ensure your oven is preheated to the correct temperature before baking. The required temperature can vary widely depending on the recipe, typically between 350°F (175°C) and 475°F (245°C).
8. Baking
Place the dough in the oven and bake according to the recipe’s instructions. The baking time can vary depending on the size and shape of the bread. Some recipes may call for steam in the oven’s initial minutes to help the bread rise properly and develop a crisp crust.
9. Cooling
Once the bread is baked, remove it from the oven and turn it out of the pan onto a wire rack to cool. Cooling allows the structure of the bread to set and makes it easier to slice. Resist the temptation to cut into the bread immediately, as doing so can cause the interior to become gummy.
10. Serving and Storage
Bread is best enjoyed the day it is baked but can be stored in airtight containers or bags to keep it fresh. Depending on the recipe, bread can also be frozen for longer storage.
Bread making is a skill that improves with practice. Each step, from mixing to baking, offers opportunities to adjust and refine based on your preferences and the specific qualities of the ingredients. Enjoy the process, and don’t hesitate to experiment with different flours, hydrations, and flavors.